Super easy bibs that actually work (made from towels)
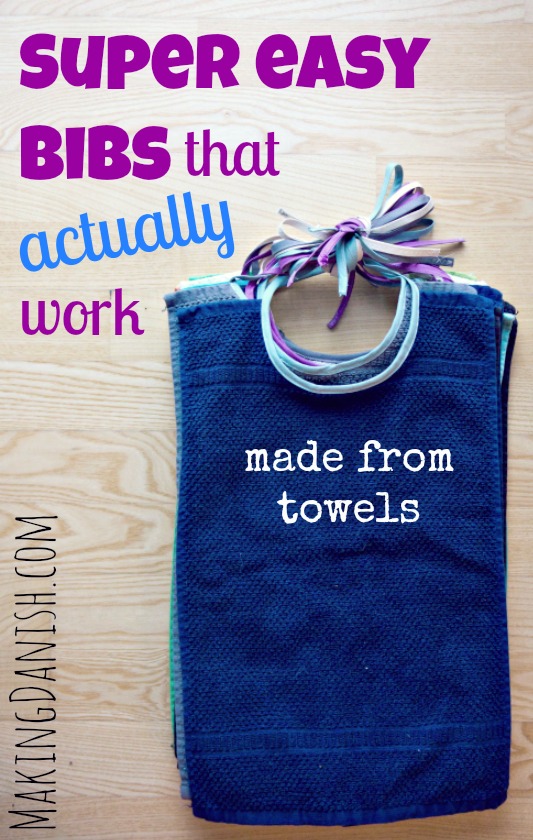
Before Eva arrived I had to have a friend sew me a foam noodle for our bedside crib (see this post on where baby should sleep) and my mom to help me with a bed minimizer. Though I really appreciated their help, it also frustrated me that I couldn’t just do it myself. After giving birth I therefore decided to learn how to sew and so far, it’s actually going pretty well. The biggest problem is finding the time, but when I can find that bit of extra time I’m actually really starting to enjoy sewing and creating something useful.
One of the things that made me want to sew was the fact that most of the bibs I’ve been able to find for Eva are either too expensive or not that useful. We’ve got a few where water and food just slide of them, are too short or simply don’t work since everything soaks through them leaving one wet baby behind. Eating is quite messy when you’re a baby that insists on eating and drinking all by yourself, so we need a bib that actually works.
I therefore decided to sew my own bibs (for Eva, not me). Though I’m starting to enjoy this whole sewing ordeal, I still didn’t want to spend too much time on making them since their whole purpose is getting dirty, and I knew I had to make a big batch since Eva goes through 2-3 bibs a day. We had inherited a few store bought bibs that look liked they were made of small towels and they soak everything up brilliantly. Unfortunately they cost quite a lot and I don’t like the fact that they have push buttons. They never seem to fit Eva around her neck.
The recipe for easy and functional bibs however seemed to be staring me straight in the face. Using small guest towels I could cut a hole for the neck and attach drawstrings instead of push buttons. And voila, easy, cheap and functional bibs. And that’s exactly what I did. It’s pretty much that simple, but if you want just a few more instructions on how to make them, see below.
DIY super easy bibs that actually work
This is my first sewing DIY, so please feel free to ask questions if anything doesn’t make sense.
You’ll need:
- Guest towel (I used a towel sized 30 x 50 cm (11,8 x 19,7 inches))
- Bias (I used about 125 centimeters (49 inches) for each bib. That’s quite a lot and you could easily just use maybe 80-100 centimeters (31-39 inches) instead)
- Thread (I ended up using a natural white for all the bibs I made despite changing the colour of the bias)
- A sewing machine (mine is a cheap one, but it does the job)
- Optional: push buttons (I prefer to have the bias so long that you can tie it behind the baby, but if you prefer push buttons you could use this instead of drawstrings and save some bias if you’re short on it).
I bought some cheap guest towels for this project, but you can just as easily use some old ones or even cut up a bigger towel. If you decide on the last solution just remember to sew bias all the way around the edges and not just around the neck – or if you’re lucky and have a overlocker, just overlock all the edges. Otherwise the edges will fray. I wanted to make it as easy as possible for myself, but if you want to make it not only easy, but also cheap, I think that’s the way to go.
1. Cut a hole in the guest towel for the head.
The hole should be on one of the short sides. The towels I used has a small loop for easy hanging, which might come in handy one day, so I decided to cut from the other side. To measure how big the hole needed to be I measured from a bib that fits Eva well. I just folded both the towel and the bib on the long side and placed the bib on top of the towel and then cut while I held the bib in place.
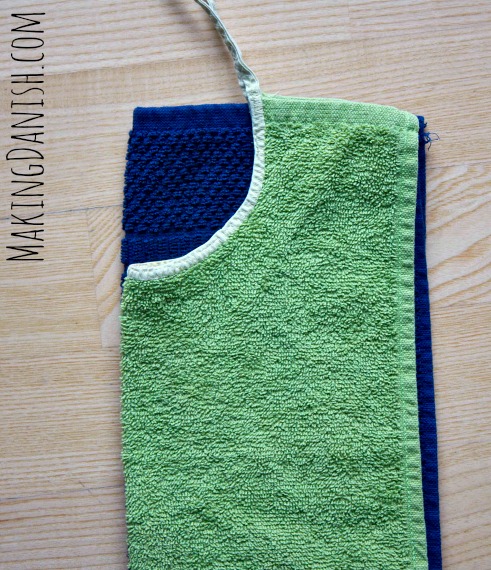
You could choose to use a pen to mark where to cut or even make a template out of paper and pin it in place, but really I didn’t bother to and it won’t matter if you sew a bit “wrong”. If you’re making more than one however, you could use the cut out as a template. It’s faster and you don’t risk cutting into the original bib.
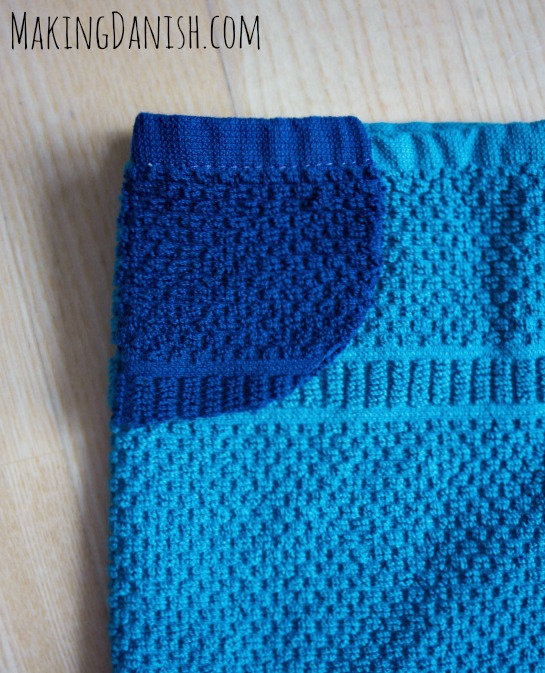
2. Measure and cut the bias.
I decided to make the bibs with drawstrings. I therefore needed quite a lot of bias, though I might have gone a bit crazy with the length (but on the up side, now the bibs fit me as well). I used 125 centimeters (49 inches) per bib, but I would think 80-100 centimeters (31-39 inches) would work just fine. If you however choose to use push buttons instead, you’ll have to measure around the neck hole to find out just how much bias you’ll need.
If you make sure to cut the bias, so it’s not scewed, then it makes the attachment later on much easier. Just fold the bias, allign it and make a small loop before cutting it and it should be straight.
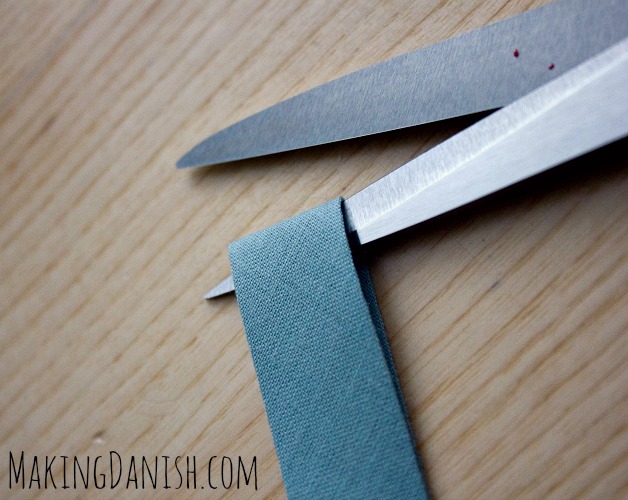
3. Attach the first side of the bias
This step was a big challenge for me. I mean, how do you attach bias? I’d never done it before, but I learned quickly from this great guide. Just don’t attach the second side of the bias before step 4 in my guide.
Tip: If you don’t have the patience you could just zig-zag the bias all the way (step 3 and 4). I only used this method for one bib. I figured I might as well learn how to attach bias in general and use the bibs as practice. Eva really doesn’t care if the bias is not fitted perfectly, so the bibs are really great at practicing on.
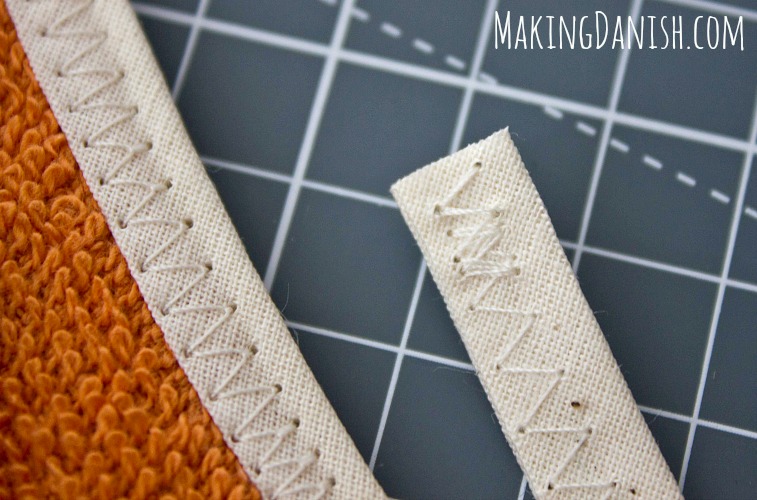
I placed the opened bias to the edge of the neck hole with he right side of the bias facing down. I then started sewing along the fold line in the bias using a straight stitch and starting on one side of the neck hole and ending at the other (for now, you just have to ignore the rest of the bias that is needed for drawstrings).
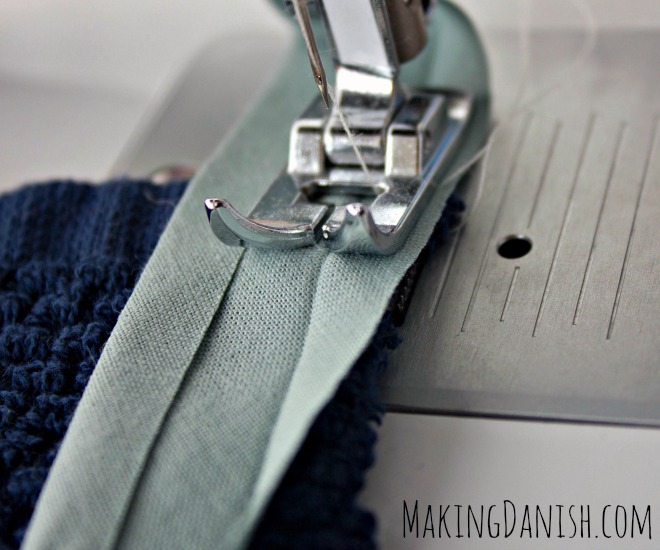
I didn’t want to spend a ton a time on pinning and making sure that everything fitted down to the last centimeter, but you could do this if you want to. I just found approximately the middle of the bias and the middle of the bib, held the middle of the bias in place and folded it roughly to one of the sides where I would start attaching the bias.
4. Make the drawstrings and attach the rest of the bias in one go.
Turn the towel over. It should look something like the photo below.
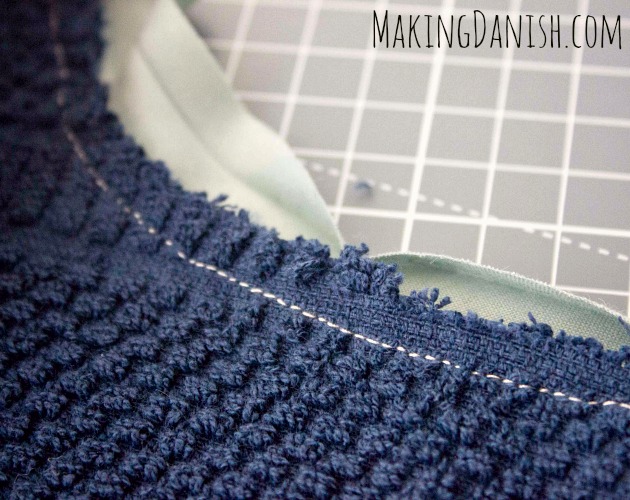
You could attach the other side of the bias first and then do the drawstrings, but I find that it’s both easier and looks better if you make the drawstrings and attach the bias in one go.
What I do is that I start in one end of the bias, fold it and then just sew the two sides together using straight stitches. I try and sew somewhat close to where the two edges meet, maybe 2 or 3 millimeters (about ⅛ inches) from the edge.
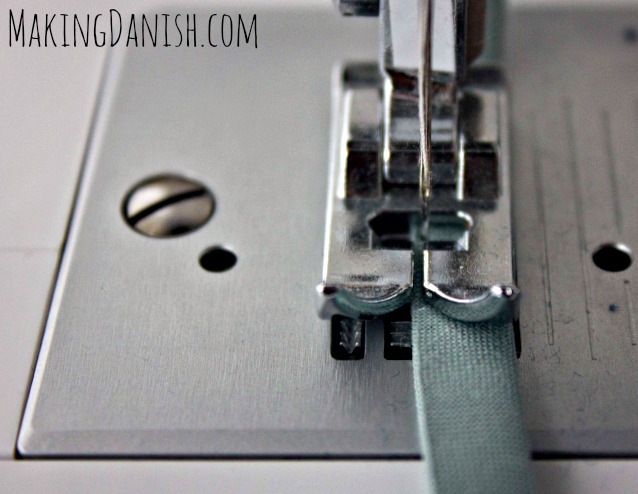
I continue sewing until I reach the towel, thus making the first drawstring. Here I press the bias over the neck hole.
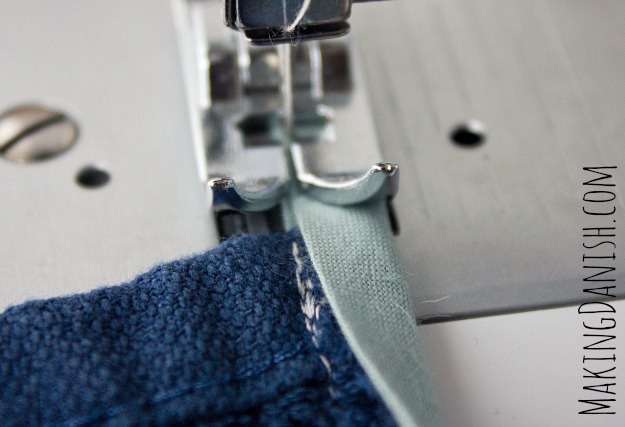
I just fold it as I sew, but you could pin it if you like. If you want the attachment to look great you have to make sure that the new stitches covers the first stitches and that they catch the bias on the other side. I do this by pressing my bias top just a tiny bit over the first row of stitches and then just continue sewing close to edge, just like I did when I made the first drawstring. The trick is to sew a bit above the first set of stitches.
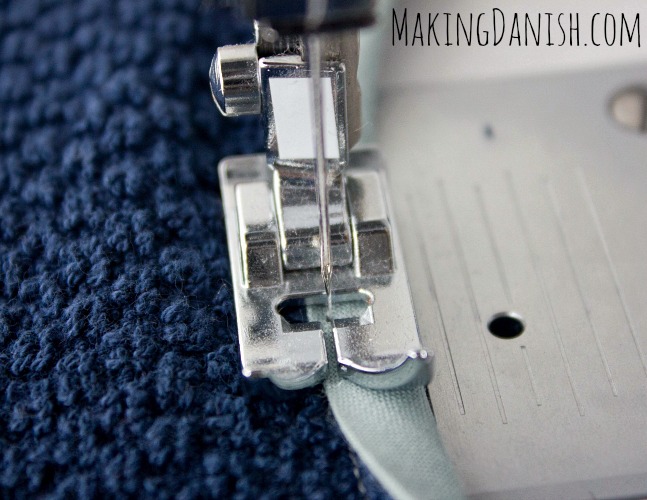
When I reach the end of the neck hole I fold the bias and make the last drawstring.
And then, that’s it, you’re done with your bib and it’s now ready to be used.

Et voila! One finished bib – ready to be smeared in food!
I made 12 of these bibs in one go. It took med about 2 ½ hours and I’m by no means an experienced sewer. This included three thread changes because I couldn’t really decide what colour thread I wanted and the time it took to take the photos. I think that makes it a rather easy starter sewing project!

All of the 12 bibs I made, tied together.
You could make bibs with fleece on one surface and the towel on the other, if you think that your child will spill a lot, but after Eva figured out how to drink from a cup, the towel bibs have been enough for her.


Hiya Eva’s mum, Do you think I could use this method to make a napkin bib for my elderly mum in law. With having arthritis in her shoulders she often misses her mouth bless her and her food goes down her front. Kind regards Paula
angelfish639@hotmail.com
Excellent and if you wanted to make these for Market stalls you could sell them really cheaply also.