Homemade lacing cards
Lacing cards are a great activity for younger kids, especially kindergartners and preschoolers, but instead of buying them, you can easily make them yourself. It only takes a few mintues to setup, so get creative, make some fun shapes and watch your little ones quietly concentrate as they thread through the holes. Perfect for busy bags and quiet play.
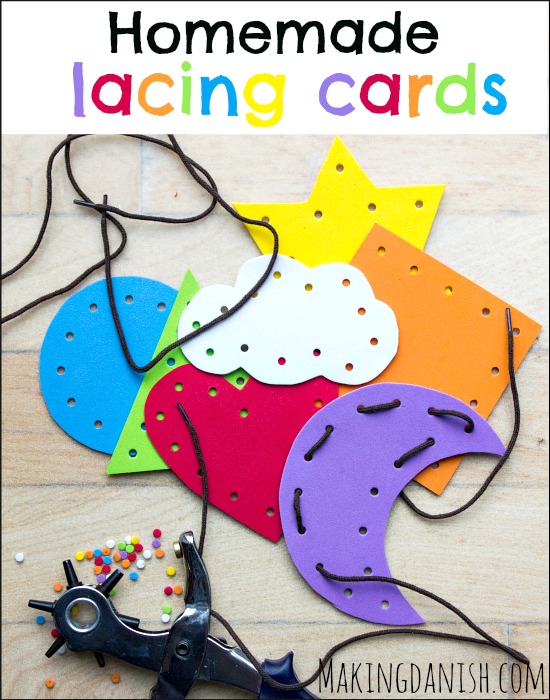
I’ve decided to gather a few toys and make a handful of small activitetes for Eva for when she becomes a big sis. Just a few simple things to keep her occupied while I nurse or for when she needs something new and challenging to do. I’ve been inspired by some of the many ideas for busy bags on Pinterest and especially liked the idea of lacing cards. You could buy them already made, but I decided to make my own as it seemed pretty straight forward. And it really is. Especially if you just happen to have the materials lying around. But even if you don’t, it’s still pretty easy, as some of the items can easily be substituted. Fx instead of foam sheets you could use the cardboard from a cereal box and if you don’t own a handheld punch hole just use an ordinary paper punch to make the holes.
Benefits of lacing cards
For me the most important part of an activity is that it’s fun, and this is definitely an activity my little one has enjoyed, but threading and using lacing cards is also a fairly simple Montessori inspired practical life activity. It’s helps kids with their fine motor skills, promotoes their hand-eye coordination, teaches them a thing or two about patterns and simple mathematics, strengthens their pincher grasp and their abilty to concentrate on a task. It’s great as a busy bag, so if you need a little activity for some quiet play the cards are ideal.
By making the lacing cards yourself, you can cut them into shapes that you know will spark your kid’s imagination. Maybe make cars, a tree or cut out an unicorn. Use cookie cutters or free hand to make the shapes or print some silhouettes of the internet. If your kids are a bit older invovlve them in the process. Make them choose the shapes and colours as well as have them cut out the shapes and punch the holes – and then of course let them thread away. There’s nothing better than getting your kids involved in the whole process – it gives them a sense of accomplishment and maybe next time, they’ll make some completely on their own.
How to make your own lacing cards
Making lacing cards are quite easy, requires just a few items and doesn’t take long to make. So if you need a quiet activity for your preschooler this is ideal.
Materials
- Foam sheets (or just use cardboard fx from a cereal box, plastic mat or leftover wall paper)
- Handheld hole punch (or just use a paper puncher)
- Shoe laces (or string with a bit of tape at the end to imitate the end of the shoe laces)
- Scissors
- Optional: pen
- Optional: cookie cutters, ruler and/or other items to help make the shapes
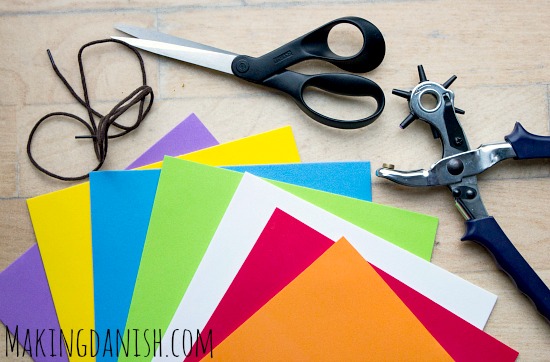
How to:
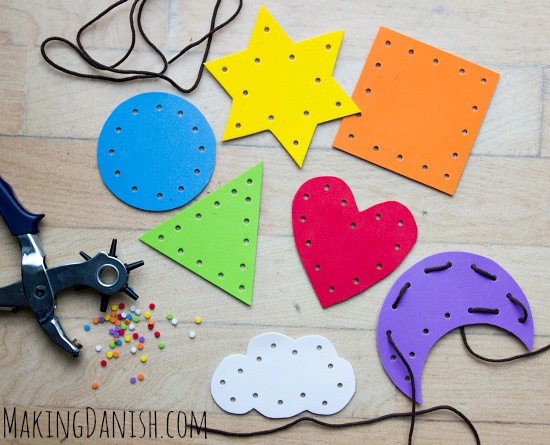
The photos of the finished project is pretty self-explanatory, but for good measure, here’s a short how to:
- Make as many shapes as you like – either by free hand drawing and cutting or using some tools like cookie cutters, cups or a ruler. I made a heart and a cloud by free hand, drew a square and a retangle using the ruler, a half moon and circle using two different cups and a cookie cutter to make a star.
- Punch holes along the edges of the shapes. I recommend not placing the holes to close to the border as it might break more easily, otherwise the number of holes and spacing between them is entirely up to you.
- Play time! Show your toddler how to get the lace through the hole and then just hand them the cards and let them have a go.
Eva loved the activity when I introduced it to her, but as a 2-year old she had a bit of difficulty concentrating on the task. But now, as a 3-year old kindergartner she will sit with if for 30 minutes straight, making different patterns as she threads with the shoe lace. She loves it just as much as she loved threading with pipe cleaners and beads when she was younger. I think we’re going to make some letters and numbers next time as she is really into counting and spelling these days – and this is a perfect opportunity to get familiar with some new letters without a pen to paper.

Thanks for the idea! Since I am using mine with a whole class or pre-k students and not just one kid, I made mine a little sturdier by attaching a piece of sticky foam to thin cardboard. If I’d had more sticky foam handy, I might have done foam on both sides. I used the cards with students yesterday and they loved them!
That’s a really great idea – I can imagine they would get worn out pretty quick if more kids were to use them! And I’m so glad they loved it!